Installing VMware Tanzu Community Edition on RockpiX SBC running CentOS7
Author: Ananda Kammampati
Dated: October 2021
Disclaimer:
- Whatever I am trying here is absolutely NOT RECOMMENDED by anyone, by any means and is expected to run into challenges
- Documentation clearly calls out that Tanzu Community Edition for Docker is experimental
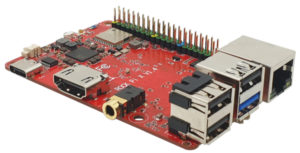
- This is only an exercise to see how far I could go with installing VMware Tanzu on a RockpiX Embedded board with 4GB RAM running CentOS7
Goal:
- To capture and share the commands needed to install VMWare Tanzu CE (Standalone) on a freshly installed CentOS7
References:
- https://tanzucommunityedition.io/docs/latest/cli-installation/
- https://tanzucommunityedition.io/docs/latest/docker-install-mgmt/
- https://wiki.radxa.com/RockpiX
Videos:
- I am providing a couple of videoes that I caputed while installing Tanzu CE
- The second video will shed some insight on resource consumption on RockpiX SBC
Observation:
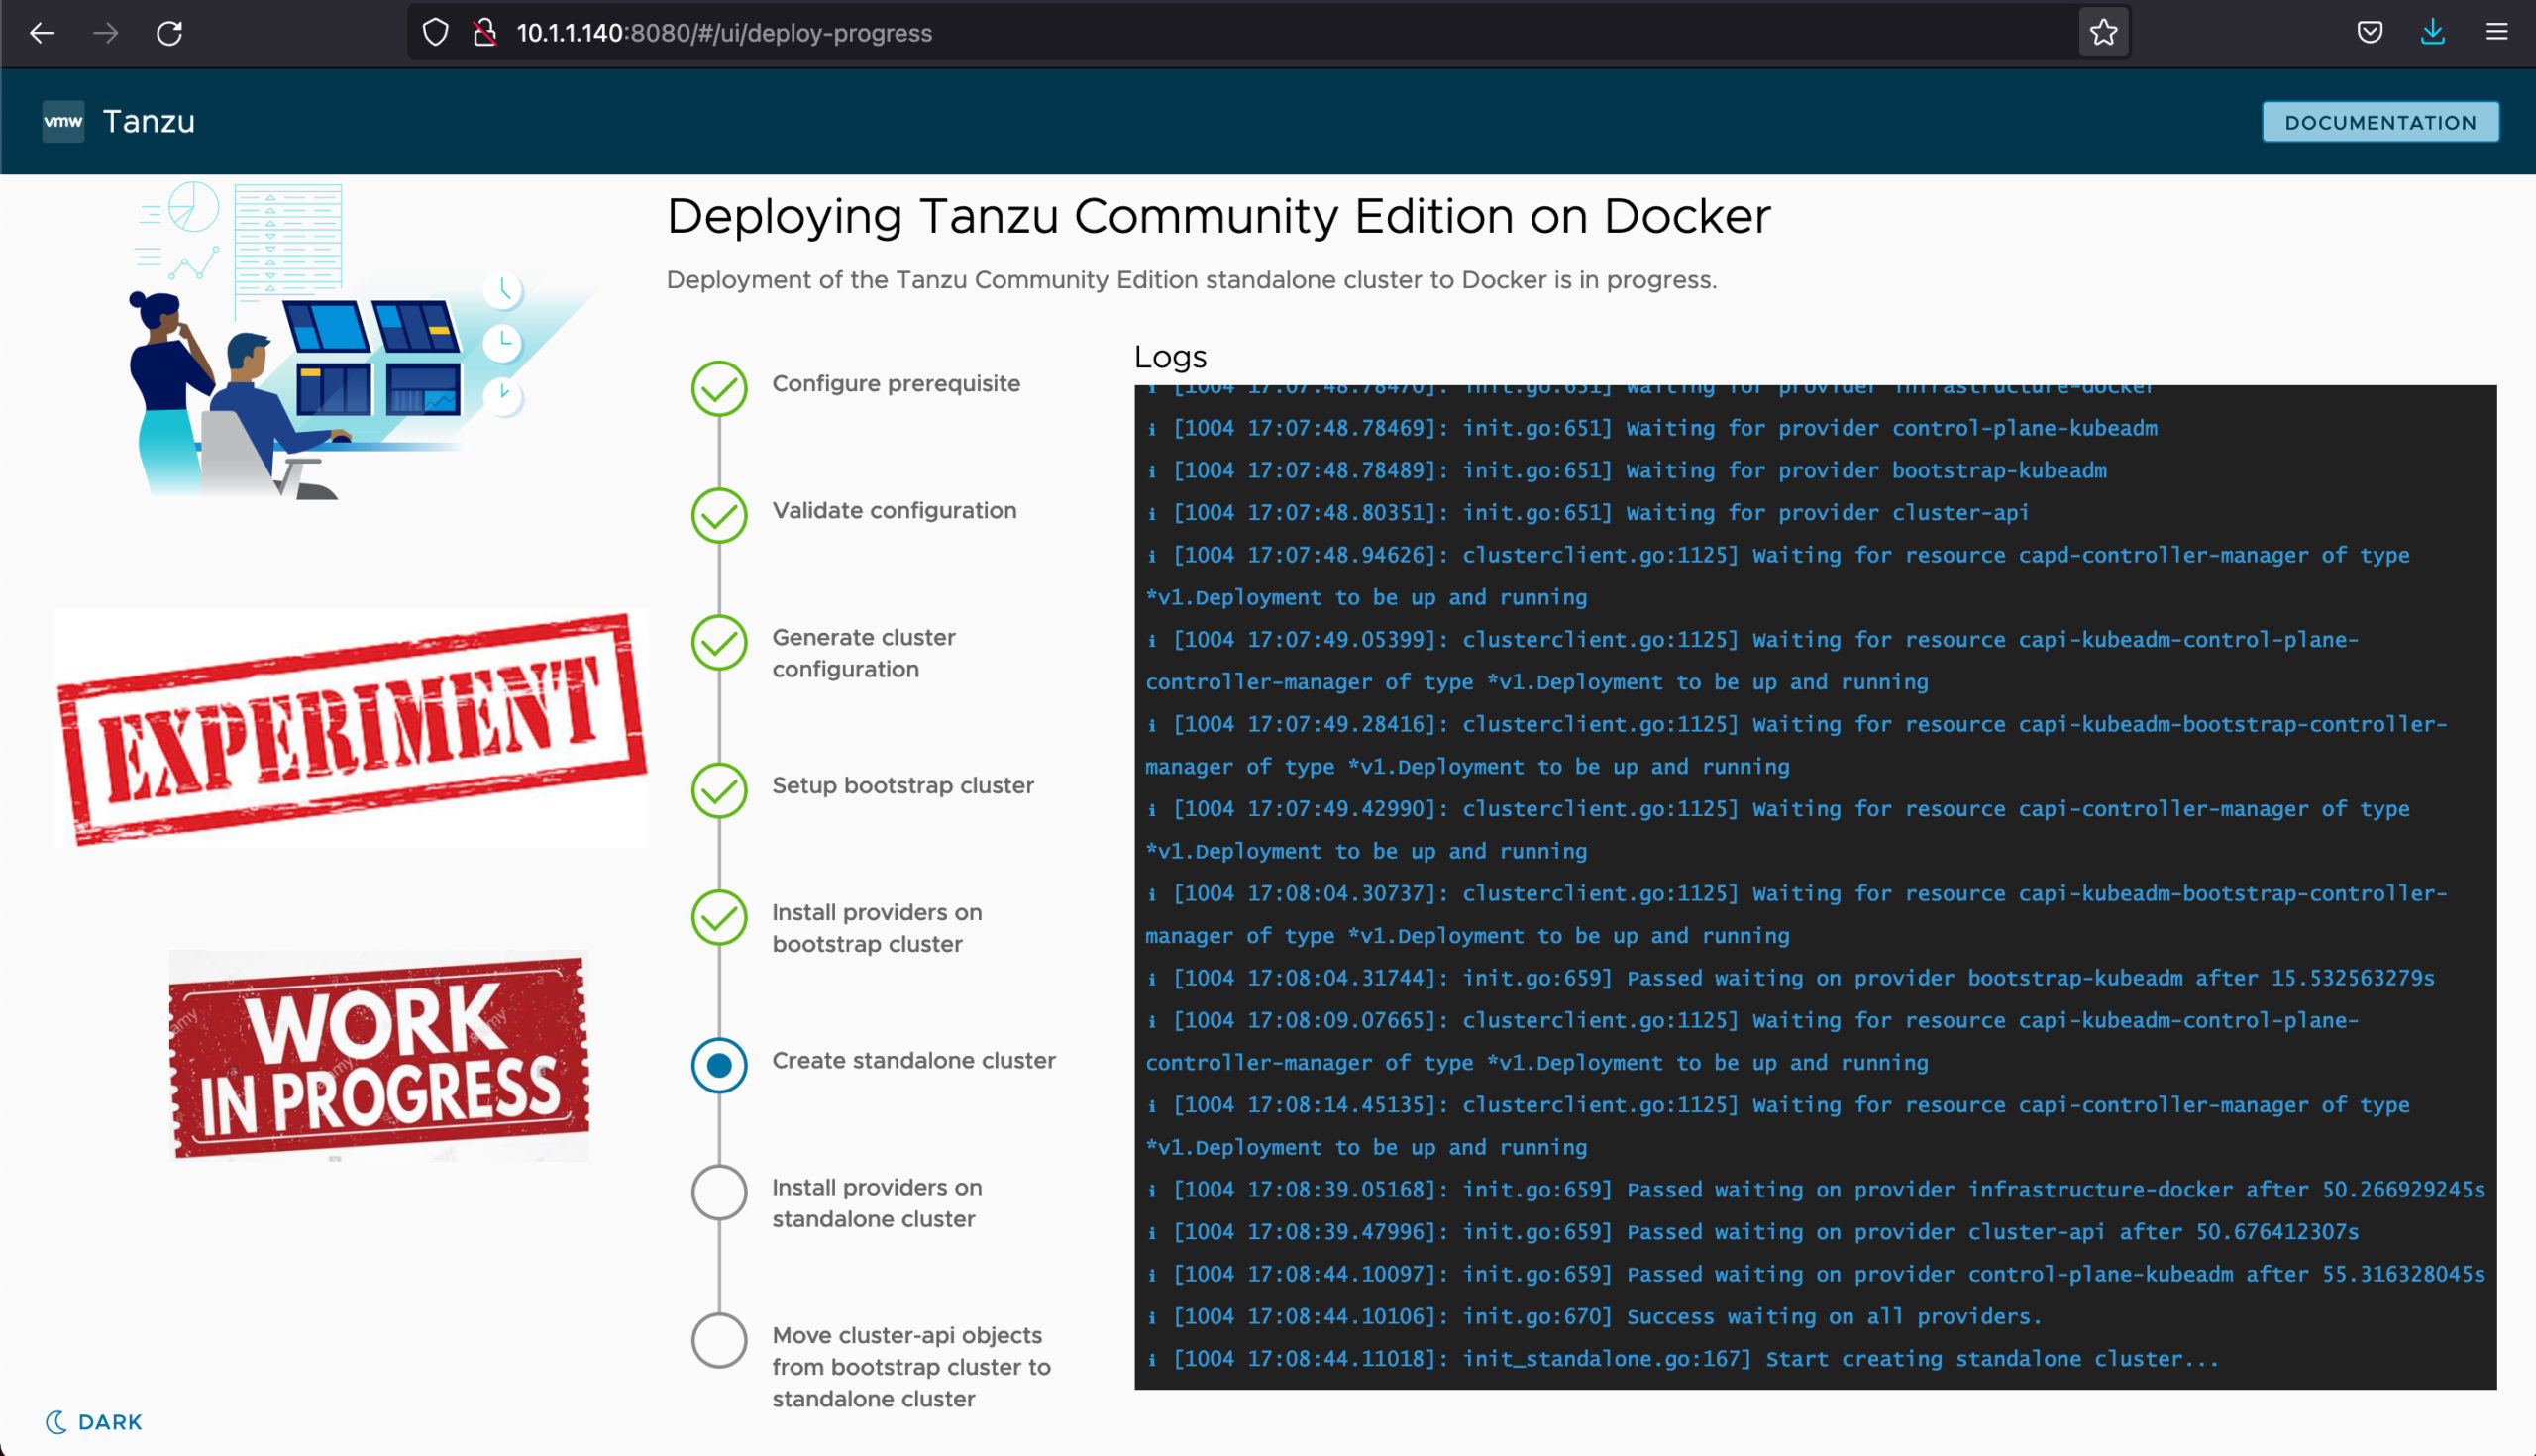
- The installation did not complete
- There was no more visible progress after the step 'Create standalone cluster'
Lessons learned:
- Use a more powerful machine with minimum 6GB RAM as recommended 🙂
Clear Documentation Callouts:


10.1.1.140 is the IP address of my RockpiX SBC running CentOS7
% ssh root@10.1.1.140 ------------------------->> ssh from local machine
root@10.1.1.140's password:
Last login: Mon Oct 4 16:14:48 2021

[root@tanzu ~]# hostname
tanzu

[root@tanzu ~]# whoami
root

[root@tanzu ~]# uname -a
Linux tanzu 3.10.0-1160.42.2.el7.x86_64 #1 SMP Tue Sep 7 14:49:57 UTC 2021 x86_64 x86_64 x86_64 GNU/Linux

[root@tanzu ~]# cat /etc/*release
-----
CentOS Linux release 7.9.2009 (Core)
NAME="CentOS Linux"
VERSION="7 (Core)"
ID="centos"
ID_LIKE="rhel fedora"
VERSION_ID="7"
PRETTY_NAME="CentOS Linux 7 (Core)"
ANSI_COLOR="0;31"
CPE_NAME="cpe:/o:centos:centos:7"
HOME_URL="https://www.centos.org/"
BUG_REPORT_URL="https://bugs.centos.org/"

CENTOS_MANTISBT_PROJECT="CentOS-7"
CENTOS_MANTISBT_PROJECT_VERSION="7"
REDHAT_SUPPORT_PRODUCT="centos"
REDHAT_SUPPORT_PRODUCT_VERSION="7"

CentOS Linux release 7.9.2009 (Core)
CentOS Linux release 7.9.2009 (Core)
-----

[root@tanzu ~]# yum install -y wget yum-utils htop

[root@tanzu ~]# yum-config-manager \
--add-repo \
https://download.docker.com/linux/centos/docker-ce.repo
[root@tanzu ~]# yum install -y docker-ce docker-ce-cli containerd.io

[root@tanzu ~]# systemctl start docker.service

[root@tanzu ~]# systemctl status -l docker.service

[root@tanzu ~]# systemctl status -l containerd.service

[root@tanzu ~]# systemctl enable docker.service
Created symlink from /etc/systemd/system/multi-user.target.wants/docker.service to /usr/lib/systemd/system/docker.service.

[root@tanzu ~]# systemctl enable containerd.service
Created symlink from /etc/systemd/system/multi-user.target.wants/containerd.service to /usr/lib/systemd/system/containerd.service.

[root@tanzu ~]# curl -LO https://dl.k8s.io/release/v1.20.1/bin/linux/amd64/kubectl

[root@tanzu ~]# install -o root -g root -m 0755 kubectl /usr/local/bin/kubectl

[root@tanzu ~]# which kubectl
/usr/local/bin/kubectl

[root@tanzu ~]# useradd student ------------------------>> Create a user name 'student'

[root@tanzu ~]# passwd student ------------------------>> Assign password to 'student' account
Changing password for user student.
New password:
Retype new password:
passwd: all authentication tokens updated successfully.

[root@tanzu ~]# gpasswd -a student wheel ------------->> 'student' will have sudo privileges
Adding user student to group wheel

[root@tanzu ~]# usermod -aG docker student ------------->> 'student' can now run docker commands

[root@tanzu ~]# exit
logout
Connection to 10.1.1.140 closed.

% ssh student@10.1.1.140 ------------------------->> ssh from local machine with 'student' account
student@10.1.1.140's password:
Last login: Mon Oct 4 15:41:46 2021 from 10.1.1.100

[student@tanzu ~]$ whoami
student

student@tanzu ~]$ pwd
/home/student

[student@tanzu ~]$ docker images
REPOSITORY TAG IMAGE ID CREATED SIZE

[student@tanzu ~]$ docker ps -a
CONTAINER ID IMAGE COMMAND CREATED STATUS PORTS NAMES

[student@tanzu ~]$ kubectl --help

[student@tanzu ~]$ wget https://github.com/vmware-tanzu/community-edition/releases/download/v0.9.1/tce-linux-amd64-v0.9.1.tar.gz

[student@tanzu ~]$ tar zxvf tce-linux-amd64-v0.9.1.tar.gz
-----
tce-linux-amd64-v0.9.1/
tce-linux-amd64-v0.9.1/bin/
tce-linux-amd64-v0.9.1/bin/tanzu
tce-linux-amd64-v0.9.1/bin/tanzu-plugin-cluster
tce-linux-amd64-v0.9.1/bin/tanzu-plugin-kubernetes-release
tce-linux-amd64-v0.9.1/bin/tanzu-plugin-login
tce-linux-amd64-v0.9.1/bin/tanzu-plugin-package
tce-linux-amd64-v0.9.1/bin/tanzu-plugin-pinniped-auth
tce-linux-amd64-v0.9.1/bin/tanzu-plugin-management-cluster
tce-linux-amd64-v0.9.1/bin/tanzu-plugin-builder
tce-linux-amd64-v0.9.1/bin/tanzu-plugin-standalone-cluster
tce-linux-amd64-v0.9.1/bin/tanzu-plugin-conformance
tce-linux-amd64-v0.9.1/bin/tanzu-plugin-diagnostics
tce-linux-amd64-v0.9.1/install.sh
tce-linux-amd64-v0.9.1/uninstall.sh
-----

[student@tanzu ~]$ cd tce-linux-amd64-v0.9.1

[student@tanzu ~]$ ls -l
total 12
drwxr-xr-x. 2 student student 4096 Sep 29 10:46 bin
-rwxr-xr-x. 1 student student 2508 Sep 29 10:46 install.sh
-rwxr-xr-x. 1 student student 901 Sep 29 10:46 uninstall.sh

[student@tanzu ~]$ ./install.sh
-----
Click on the button below to see it's output
-----
[student@tanzu ~]$ docker pull kindest/haproxy:v20210715-a6da3463
-----
v20210715-a6da3463: Pulling from kindest/haproxy
b49b96595fd4: Pull complete
bb771d6dc9a1: Pull complete
6f78ac1091ad: Pull complete
6ee0b2f1a9a0: Pull complete
b844ba93c4bc: Pull complete
Digest: sha256:076db2ba7fee9d01cb33380efcc097fbee1c815bb13ebf285bad383666d24928
Status: Downloaded newer image for kindest/haproxy:v20210715-a6da3463
docker.io/kindest/haproxy:v20210715-a6da3463
-----

[student@tanzu ~]$ docker images
REPOSITORY TAG IMAGE ID CREATED SIZE
kindest/haproxy v20210715-a6da3463 083ad526a17e 2 months ago 31.8MB

[student@tanzu ~]$ docker ps -a
CONTAINER ID IMAGE COMMAND CREATED STATUS PORTS NAMES

[student@tanzu ~]$ docker volume ls
DRIVER VOLUME NAME

[student@tanzu ~]$ which tanzu
/usr/local/bin/tanzu
When I ran the following command shown below as per the documentation, I got error messages thrown. It seems to me that I am expected to run the command after logging into a Desktop Environment, and not via ssh. So I have too kill it with a Control-C.
[student@tanzu ~]$ tanzu standalone-cluster create --ui
-----
Downloading TKG compatibility file from 'projects.registry.vmware.com/tkg/framework-zshippable/tkg-compatibility'
Downloading the TKG Bill of Materials (BOM) file from 'projects.registry.vmware.com/tkg/tkg-bom:v1.4.0'
Downloading the TKr Bill of Materials (BOM) file from 'projects.registry.vmware.com/tkg/tkr-bom:v1.21.2_vmware.1-tkg.1'

Validating the pre-requisites...
Serving kickstart UI at http://127.0.0.1:8080
unable to open browser: exec: "xdg-open": executable file not found in $PATH
^CShutting down...
HTTP server Shutdown: context deadline exceeded
Stopped serving kickstart UI at http://127.0.0.1:8080
-----
Looking at 'tanzu' command's help, there are options that I can pass in binding it to my IP address 10.1.1.140 (instead of 127.0.0.1) and also avoid firing up a browser.
[student@tanzu ~]$ tanzu standalone-cluster create --help
-----
....
Flags:
-b, --bind string Specify the IP and port to bind the Kickstart UI against (e.g. 127.0.0.1:8080). (default "127.0.0.1:8080")
--browser string Specify the browser to open the Kickstart UI on. Use 'none' for no browser. Defaults to OS default browser. Supported: ['chrome', 'firefox', 'safari', 'ie', 'edge', 'none']
....
-----

student@tanzu ~]$ tanzu standalone-cluster create --bind 10.1.1.140:8080 --browser none --ui

Validating the pre-requisites...
Serving kickstart UI at http://10.1.1.140:8080
...
...
-----
Identity Provider not configured. Some authentication features won't work.
Validating configuration...
web socket connection established
sending pending 2 logs to UI
Using infrastructure provider docker:v0.3.23
Generating cluster configuration...
Setting up bootstrapper...
Bootstrapper created. Kubeconfig: /home/student/.kube-tkg/tmp/config_emr5KDKK
Installing providers on bootstrapper...
Start creating standalone cluster... ------------------------->> No more visible progress from here onwards
-----
Here are the videos that I captured while installing. The second video is the output of 'htop' command. It gives you an idea on how much RockpiX is pushed to the limit. There were spots were all 4 CPU's were hitting 100% and 4GB of RAM is almost fully consumed.
